
Wondering how to take great photos for your website? Perhaps you don’t have enough money for a professional photographer, or perhaps you’re just a do-it-yourselfer. No problem! Having a strong online presence is crucial for any small business, and a well-designed website that showcases your products and services in the best light can attract potential customers and convert them into paying clients. Taking great photos for your website might seem like a daunting task, but with a few tips and tricks, taking great photos can be a piece of cake. Today, we’ll make the process simple, and show you how to take great photos for your website, whether you have a nice camera, or you’re using a simple cell phone camera. Let’s get started!
Three Simple Steps On How to Take great Photos for your website
#1: Almost always Use Landscape Orientation
#2: Level The Camera Horizontally
When taking photos with your cell phone, it’s essential to hold your phone horizontally level to avoid cropping and resolution loss. If you hold your phone at an angle, the image will not be straight, and you’ll end up having to crop the photo to straighten it out. This can result in a loss of resolution and reduce the quality of the image. By holding your phone level, you’ll get a straight image that doesn’t require any cropping, ensuring that the resolution and quality are not lost.
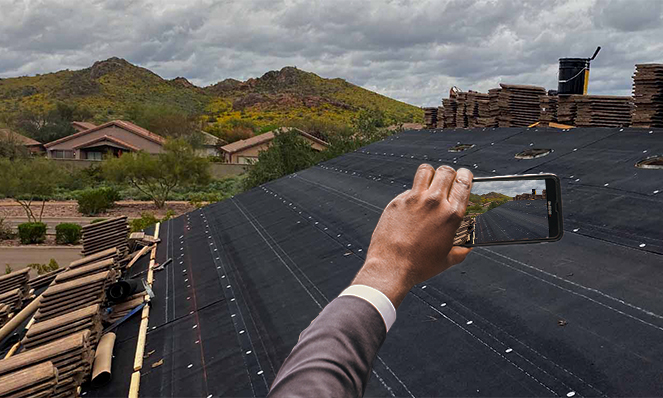
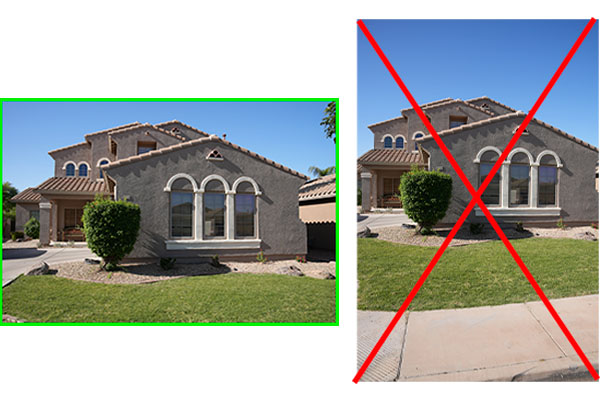
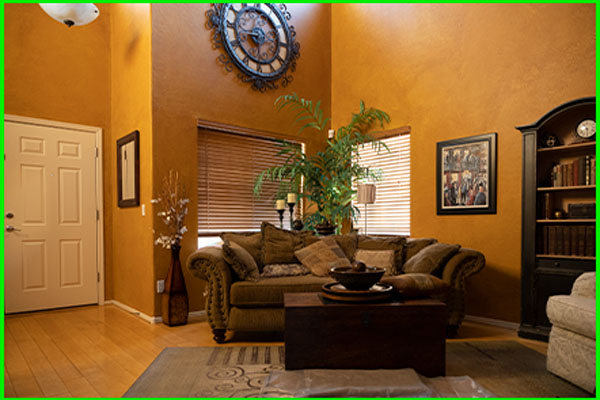
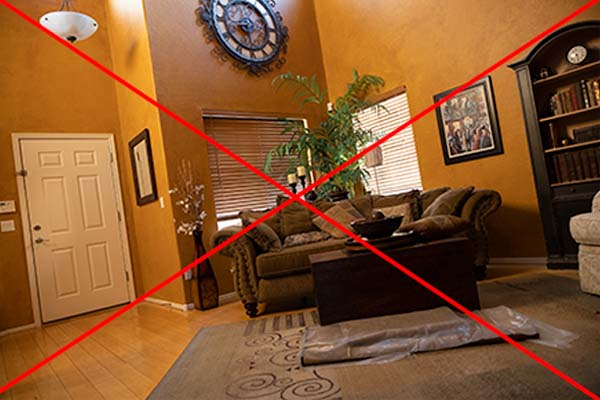
#3: Keep Camera Perfectly Vertical
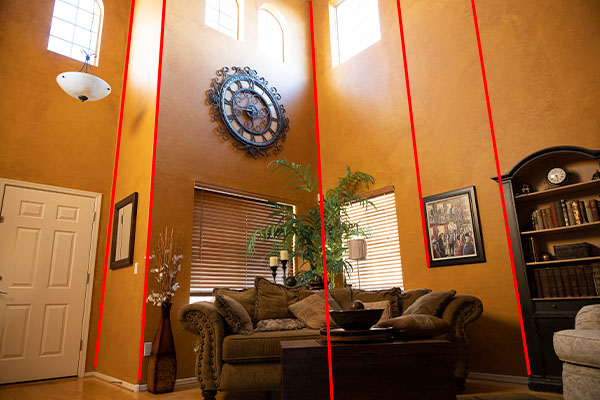
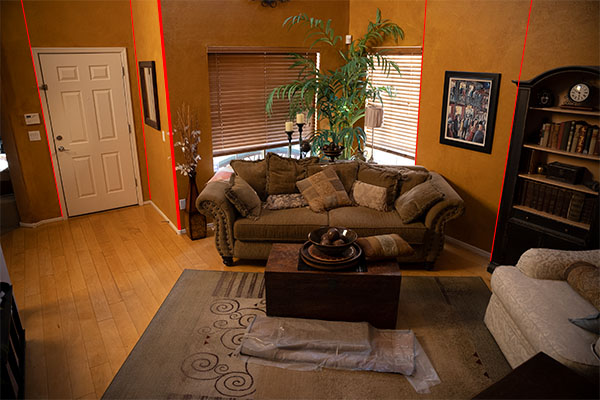
Another common mistake when taking cell phone photos is tilting your phone forward or backward. This results in vertical lines that never converge, and the image appears distorted. This issue is especially prevalent when taking photos of buildings or interiors. By keeping your phone level, you’ll avoid this problem and get a straight image that accurately represents the subject. As mentioned before, straight images eliminate cropping, ensuring that the resolution and quality are not lost.
Here’s a pro tip: When photographing interiors, the height of the camera is critical. Always try to place the camera about 3 feet off the floor and hold it level both left and right, and forward and backward. This will result in great images for your website!
Extra Tips On How to take Great Photos for your website
Use the "Rule of Thirds" when composing shots
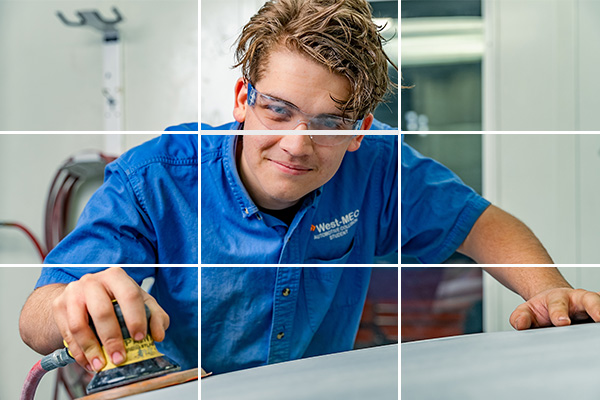
The compositional rule of thirds is one of the most fundamental principles in photography, and it can greatly improve the overall visual impact of your photos. The rule of thirds involves dividing the image into nine equal parts, using two horizontal and two vertical lines. The points where these lines intersect are called “power points,” and they are the ideal places to position important elements of your photo.
By using the rule of thirds, you can create a more balanced and visually appealing composition. Placing your subject or other key elements of the image at one of the power points can help to create a more dynamic and engaging photo. This is because the human eye naturally tends to focus on these areas of the image, making them more visually appealing and memorable.
In addition to using the rule of thirds to place your subject, you can also use it to create a sense of balance and symmetry in your photos. For example, you could position the horizon at one of the horizontal power lines, or place two complementary objects at opposite power points.
Overall, the rule of thirds is a powerful compositional tool that can greatly enhance the visual impact of your photos. By using this technique, you can create more dynamic, balanced, and visually appealing compositions that will help your small business stand out online.
Get a variety of Photos
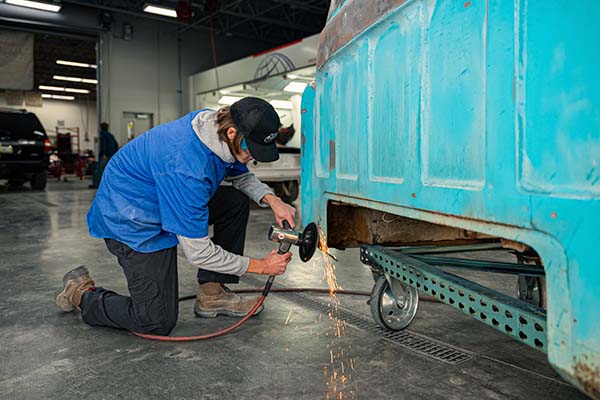
When it comes to getting great shots for your website, it’s important to capture a variety of shots to tell a complete and compelling story. This is particularly important when photographing a scene, whether it’s a landscape, an event, or a product. By taking a range of shots, including wide establishing shots, medium shots on some action, and close-ups of detail, you can capture the essence of the scene and convey its message to your audience.
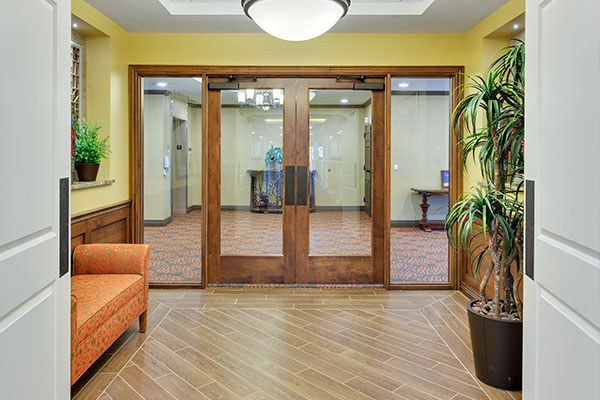
Wide establishing shots are important because they give viewers a sense of context and help to set the scene. These shots are typically taken from a distance and show the overall environment or setting. These shots can be particularly useful when you want to show the scale of a location or provide a sense of place.
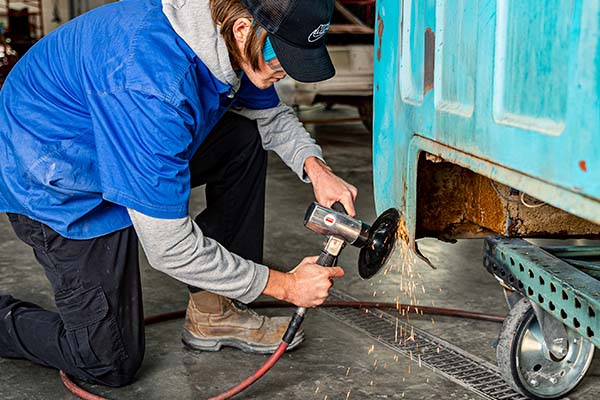
Medium shots, on the other hand, are typically closer than wide establishing shots and focus on a specific subject or action. They can be particularly effective in showing one of your employees doing their job well. Be sure you include branded clothing!
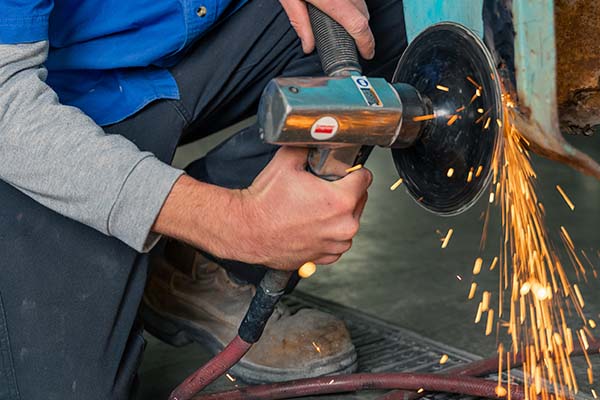
Close-ups of details are also important because they can reveal specific aspects of a scene that might not be immediately apparent. These shots are typically taken from a very close distance and focus on a specific object or feature. These shots can be particularly effective in showcasing the quality and craftsmanship of a product or highlighting unique features that make it stand out.
By taking a variety of shots, you can create a visual story that captures the essence of the scene and engages your audience. When you can present a variety of shots to potential customers, this demonstrates authenticity and establishes trust with customers.
organizing and delivering Your photos
To keep your photos organized, consider labeling them by client’s last name if it’s to show a job for your website portfolio. This will make it easier to find specific photos when you need them.
Once you have taken your photos and organized them, it’s time to send them to your web developer. Here are some tips to use when sending your photos to your web developer:
- Categorize your photos and place them into individual folders
- Compress each folder to make sending easier and faster (Mac and Windows both include a free utility to do this. Google it!)
- Notify your web developer once you’ve sent them, as they may not be alerted that you’ve done so.
Learning how to take great photos for your website is not only easy but also an effective way to enhance your brand’s online presence. By following the tips mentioned in this article, you can create high-quality photos that showcase your brand, team, and services.
Remember, Schnebly Hill also has a full media team of professional photographers on staff, so if you get stuck, have a question, or need other help, just ask! You can also visit our sister company and get them done for you.
