
 The first thing you want to do is navigate to the back end of your website, using the link, login, and password provided to you.
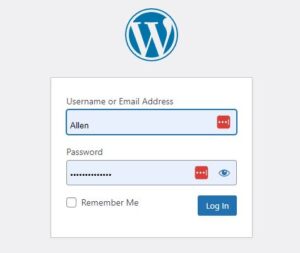
Once you’ve logged into the back end, you’ll see the “WordPress Dashboard.” From here, you’ll navigate to the left side, where you’ll see “pages.” Hover over pages and select “All pages.” This will display all the pages on your website. Select and load the page with the image you want to edit by clicking “Edit with Elementor.”
 Now, find the image you’d like to replace. Click on the image container, then click on the image inside the image editor. Once you’re in the media gallery, take a look here in the right-hand corner.
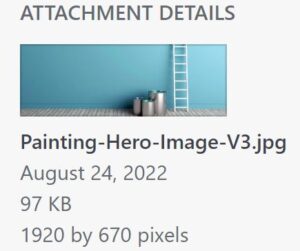
This section provides some key information about the existing image’s dimensions and size. Remember, when we built your site, we set these very carefully to ensure the images look great and that your site loads very quickly. (Note that if you don’t see the full image information, just scroll down a bit and push the button that says “load more.” You may need to do this once or twice to see the full image details.
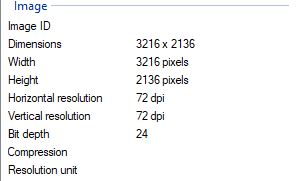 Let’s say we want to replace this image with another one on our computer. Let’s take a look at the specs on our new image. Navigate to where the image is stored, and simply hover over it. If this doesn’t work, you can right click the image and select “properties” and then the details tab. You’ll notice that this image is 3216 x 2136, which is much larger in dimensions than we need. Also, the image is 1.14mb. Remember that we need the image to be not more than 100 kb. The new one is over 100 times bigger than we need. So, let’s modify it to fit what we need.
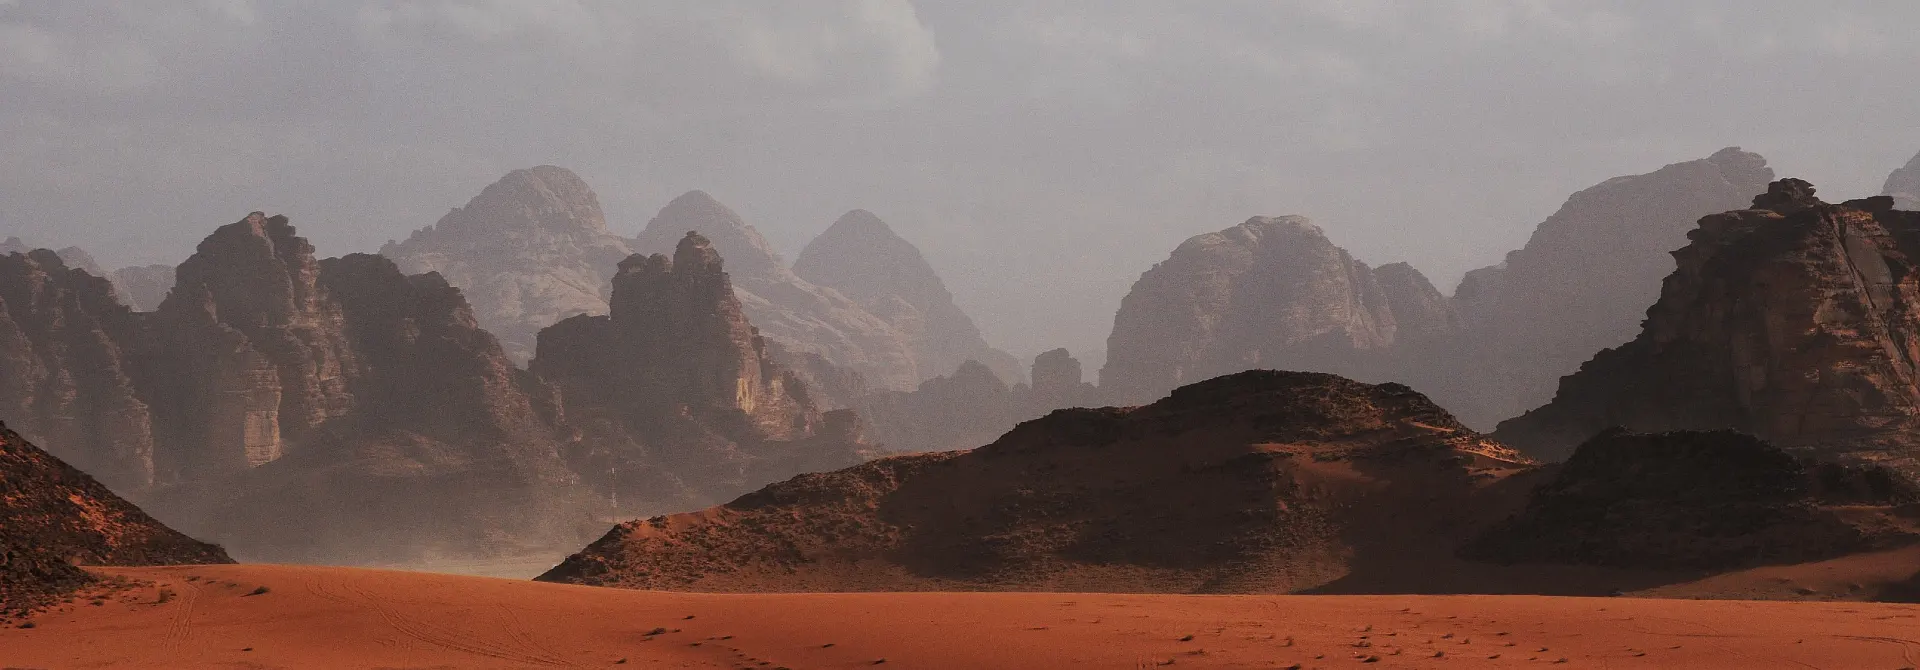
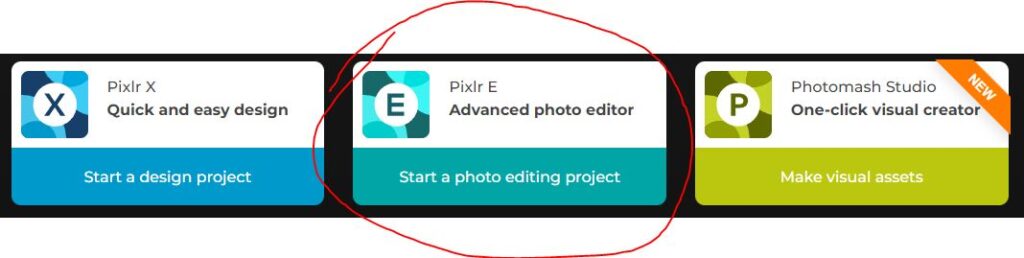
 To resize images for website use, you’ll need image editing software to do it. You can use Photoshop, but if you don’t have access to that software, or it’s too expensive and complicated, you can use PIXLR. First, navigate to a website called PIXLR.com. That’s P-I-X-L-R.com. When the page loads, we’ll select “PIXLR E” Advanced photo editor. Instead of opening an image, we’ll select the option to “Create New”. On the right hand side, we’ll see the options to name our photo and set its dimensions. You can name it if you want, but we do want to select the proper dimensions we found from our existing image. That image was 1920 x 670, so we’ll set those dimensions, and select “Create.”
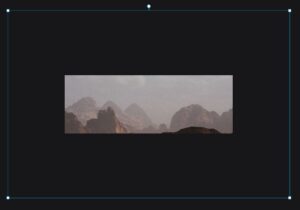 When you drop the image in, you’ll see that it may not be fitting exactly as you’d like within the space. You can do a couple of things here. You can just click the image and drag it around . . . or, you may want to shrink it down a bit. Grab the slider here, and move it to the left. This will allow you to see your whole image and how it’s fitting in the container. You can click and grab one of the handles at the four corners of the image to shrink it down to size. You can now move it around some, to get it to fit how you’d like, then you’re ready to export it for use on your site.
 To save your new image, navigate to “File” at the top left, and select “Save” in the dropdown menu. Now, we already know the dimensions are correct for the image, but we need to shrink it down to the correct size. Note here that the image is defaulting to 287kb, which is almost 3 times bigger than we need. Here’s what we can do. Just drag the quality slider to the left until the projected image size is just under 100kb.
I’ll make a note here that this image we’re replacing on the site is one of the biggest ones. That’s why it’s around 100kb. Other images on the site are much smaller, and might only be 30-50kb. When you want to resize images for website use, it’s always best to use images that are at or below 100 kb. The only reason we can see for violating this guideline is if you’re a photographer, and you need high resolution photos. Even in this case, we don’t recommend going too much higher.
